Last week we studied two easy way to turn a color photo into a B&W one using Grayscale or Desaturation method. We saw that playing a little bit with adjustments can help to do a better job.
As a matter of fact there are many other ways to do the same.
Today I'll show you two other famous methods to turn color photos into black and white ones: the LAB color method and the Channel Mixer adjustment.
I called them Challenging Ways in the title but don't worry! They are not too complicated, they just needs some additional steps.
We'll start with the same photo as the "easy" article.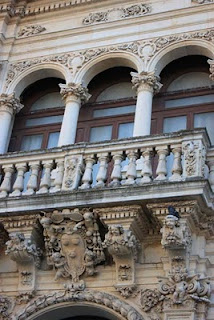
LAB Technique
Go to Image>Mode>Lab mode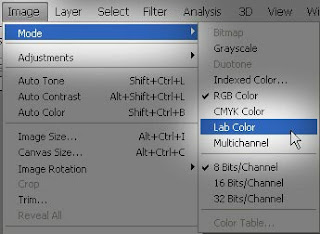
L is for lightness and a and b for the color-opponent dimensions.
After converting the RGB in LAB mode go to the Channels palette or, if closed, open it clicking on Windows>Channels.
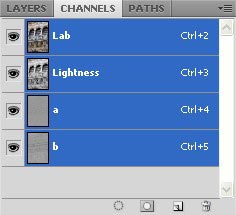
Select the Lightness channel and throw a and b away dragging them into the basket (you get the same thing if you select the lightness channel and convert the photo into grayscale again).
Click Ctrl+click on the gray channel so you automatically select some areas in the photo.
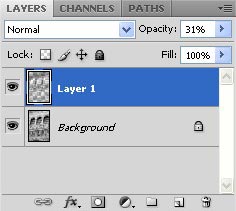
Go to Layers palette and create a new empty level.
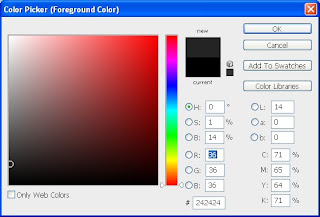
Choose a dark color and fill the selection in with the color into the new level using the Paint Bucket Tool (G)
Deselect (Ctrl+D) and adjust the opacity of this level decreasing it.
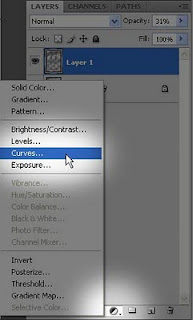
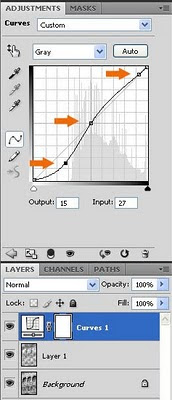
Create a Curves adjustment level and play with the curve to give contrast to the photo.
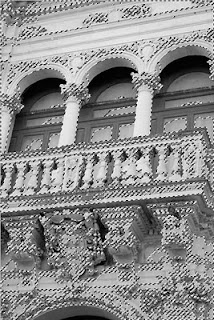
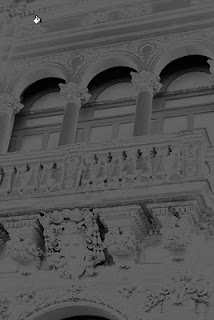
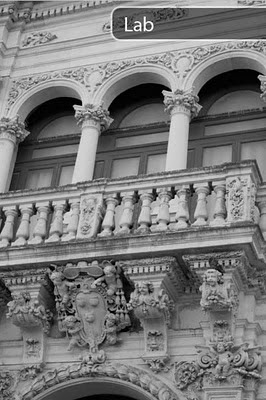
Here the final result:
Channel Mixer Method
Open your image and go to Image>Adjustment>Channel Mixer.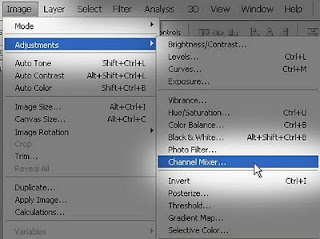
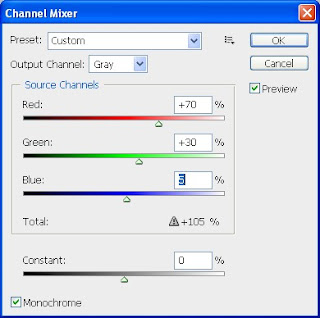
Tick Monochrome. The channel percentages should theoretically add up to 100% (i.e. 70% Red + 20% Green + 10% Blue = 100%). More than 100% means lighter images and less than 100% means darker images.
Again 100% is a standard that gives you an image a little flat, without exceeding you can play with slight variation of the percentages.
This is the result:

Duplicating the level and playing with the blending methods (even more than one!) you can reach very good results. In the following picture, for example, I've applied an overlay blending mode and decreased the opacity to 30% to enrich the shadows.
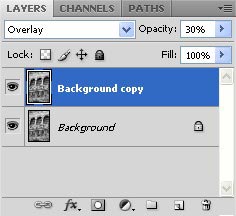
This is the result with the overlay layer applied:

On addition you can download and use several really worthy plug-ins such as the Virtual Photographer Free Plug-in that I already reviewed here.
Other colleagues designers have produced and shared some actions that you can download and install in Photoshop. Launching them and the actions will do the converting job for you.
Unfortunately these actions are preset so you can't have the control on your image result. You just can try and see if they fit.
Compare the photo resulted from the today and last week tutorial:


